They are also gluten and dairy free. And one batch will make you 12 muffins. Enough to feed a relatively big group of visitors and you can whip them up in 40 minutes all together with the oven time.
First you have to make sure you prepared all your items and located them on the table, next to you. Otherwise it can get messy.
Recipe:
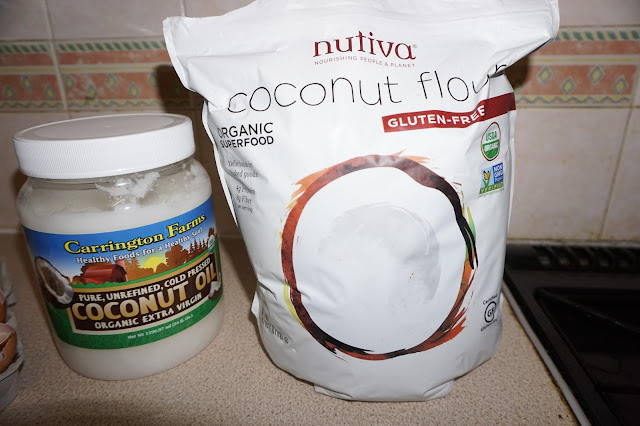
1 cup of coconut flour (I used this flour here)
1/2 tsp sea salt
1 tsp baking soda
1/2 cup + 2 tbsp raw honey (you can use any honey, really)
1 cup coconut milk (You can use any milk in a metal tin available from the supermarket, like this)
6 eggs
4 tbsp Coconut Oil, melted (I used this one)
4 tbsp vanilla extract
4 tbsp Chia seeds ( I used these)
1 cup of any fresh berries (I used frozen cherries, as it was all I had and it still turned out lovely).
Start from preheating the oven to 350F (180C or oven mark 4). And meantime roll your sleeves up and get to work.
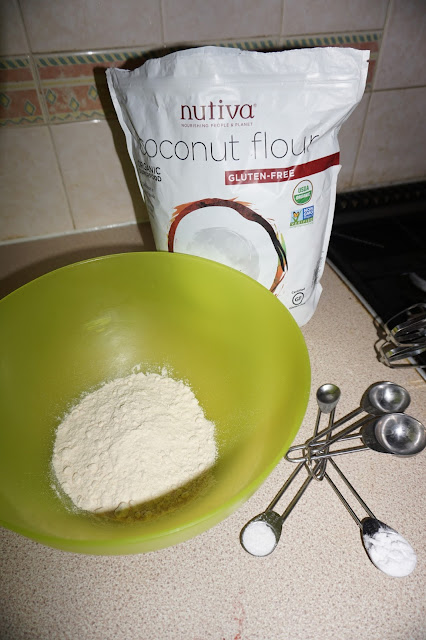
Take a big bowl and sift one cup of coconut flour in there, add salt and baking soda in there.
Mix it well, it will take you about 4-5 minutes.
When it looks like the photo below, its time to stir the wet mixture into dry ingredients:
It should look like this then:
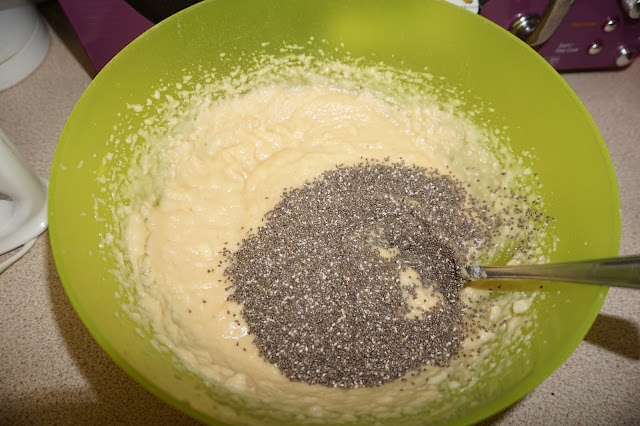
And keep mixing it with the mixer or blender, then mix in chia seeds:
Now its time to fold in your berries:
Pour the batter into the greased and lined muffin tins or I used those cute silicon cupcake cases, they worked super well as well. Make sure to fill 3/4 of the case, so batter has some space to raise, as the muffins will get bigger and rounder.
Bake for 25-28 minutes, until those tasty muffins will start to turn golden brown on top.
Immediately remove them from the tins and let them cool down on the rack or on the plate.
These turned out nicely moist inside and apparently super yummy, as my boyfriend scoffed them off once he was back home from work. I have also tried to add ginger jam to the muffin - it tasted lip-lickingly good.
If you make some of those coconut berry muffins, definitely let me know how they turn up.
Enjoy!
*I took Nutiva recipe as a base and changed it a little to suit my needs.
Follow my blog with Bloglovin


No comments